SieAgent Installation Guide
1 · Installing SieAgent
First install the SieAgent application. After the installation finishes you also need to install Microsoft .NET Desktop Runtime 8 (x64) — the application cannot start without it.
Step 1 — Install the SieAgent application
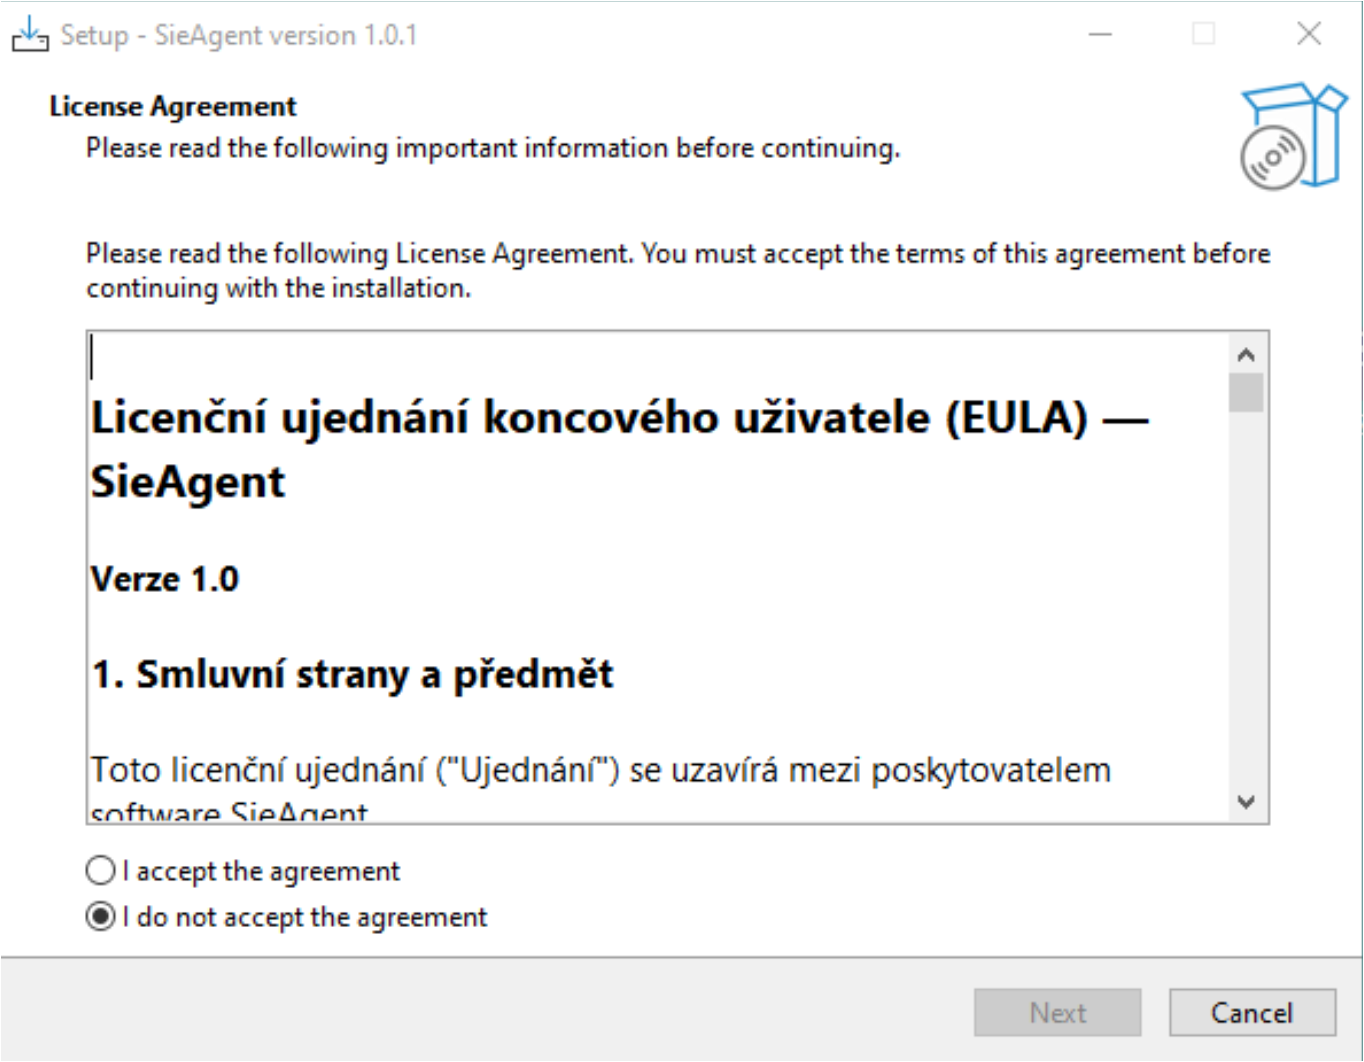
Run the SieAgent setup file. In the License Agreement step read the license terms, select I accept the agreement and continue with Next. Then finish the setup wizard.
Step 2 — Install the .NET Desktop Runtime
Required step: Start SieAgent after the installation. If the message You must install .NET Desktop Runtime to run this application appears, click Download it now.
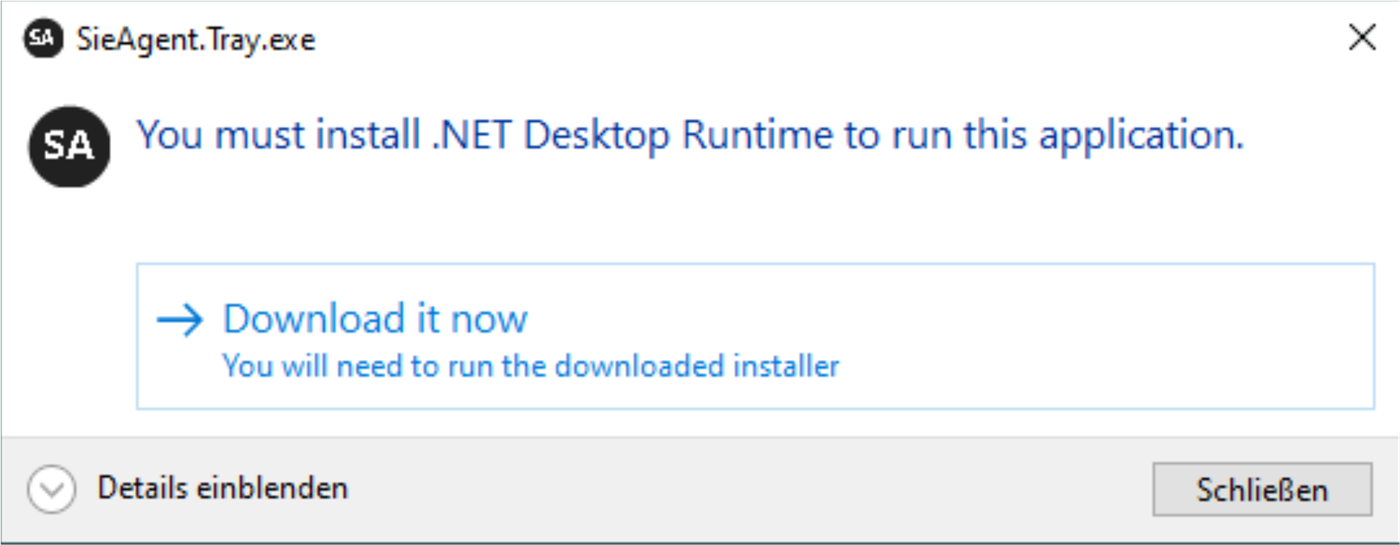
Run the downloaded Microsoft Windows Desktop Runtime 8 (x64) installer, click Install and finish the installation. Use the offered version compatible with the x64 architecture.
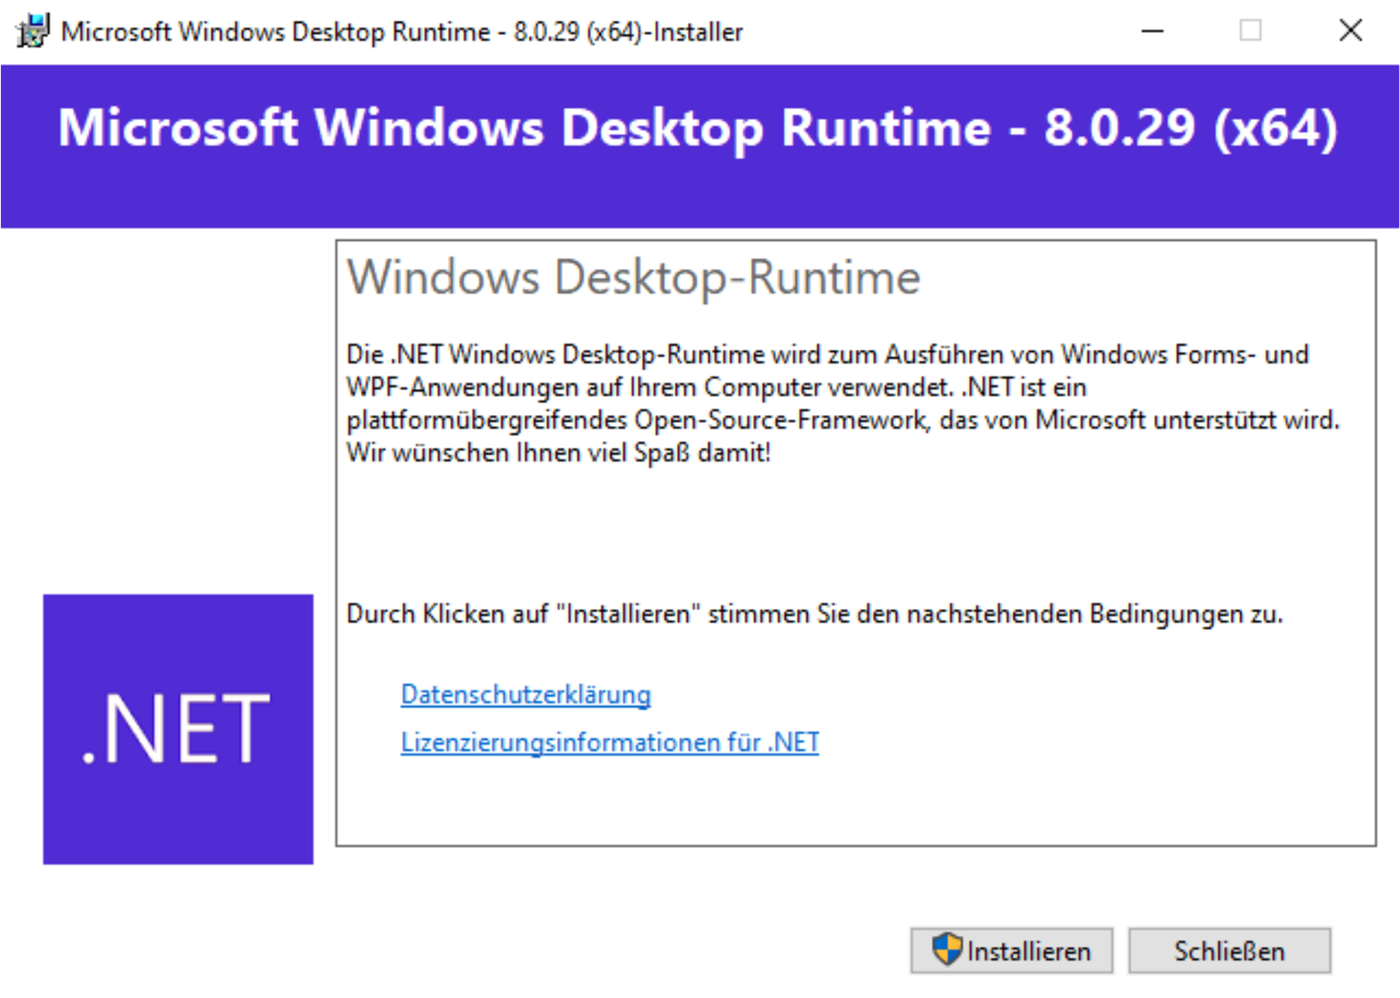
After the installation: Close the installer and start SieAgent.
2 · Activating the SieAgent license
Complete this part before installing the individual integration tools.
Step 1 — Enter the license
Start SieAgent. In the Licence SieAgent dialog paste your license key and choose Přidat a aktivovat (Add and activate).
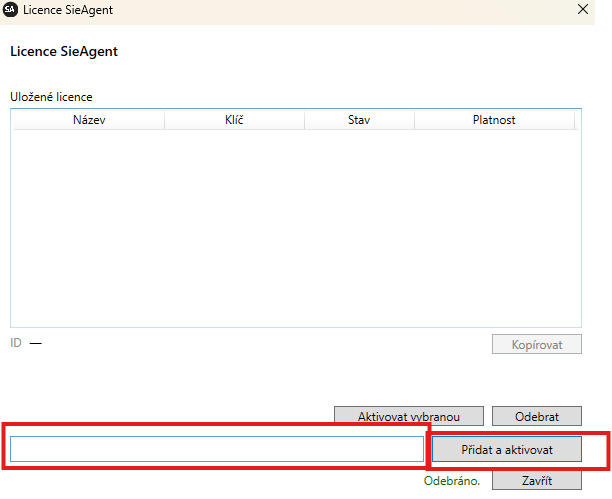
Step 2 — Verify the activation
After a successful activation check that the license shows the state Aktivní (Active). The license validity is shown in the same overview.
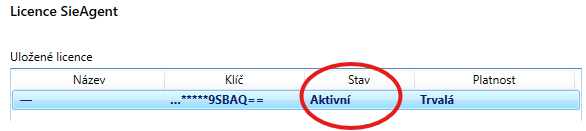
Result: The license is active and SieAgent is ready for connecting the selected tool.
3 · Installing your preferred command-line tool
Node.js is installed only once. Then install just the command-line tool you want to use with SieAgent.
Step 1 — Install Node.js
Open the Command Prompt (press Win, type cmd) and run the following
command:
winget install OpenJS.NodeJS.LTS
After installing Node.js: Close the Command Prompt and open a new CMD window.
Step 2 — Install the desired tool
In the newly opened CMD window run only one of the following commands, depending on the tool you want to use.
OpenAI Codex CLI
npm install -g @openai/codex
Claude Code
npm install -g @anthropic-ai/claude-code
Google Gemini CLI
npm install -g @google/gemini-cli
Important: You do not need to install all three tools. Another tool can be added at any time using the same procedure.
Step 3 — Restart and launch in SieAgent
Restart your computer. After the restart start SieAgent, open the panel and in the Otevřít LLM terminál (Open LLM terminal) section select the desired tool: Claude Code, OpenAI Codex CLI or Google Gemini CLI.
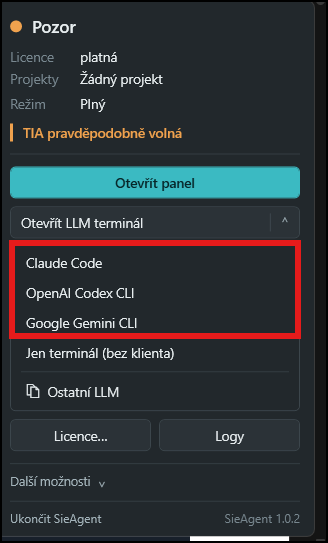
Step 4 — Sign in to your account
In the newly opened terminal sign in to your account following the instructions of the selected tool. After a successful sign-in the terminal is ready to use.
4 · Checking the prepared environment
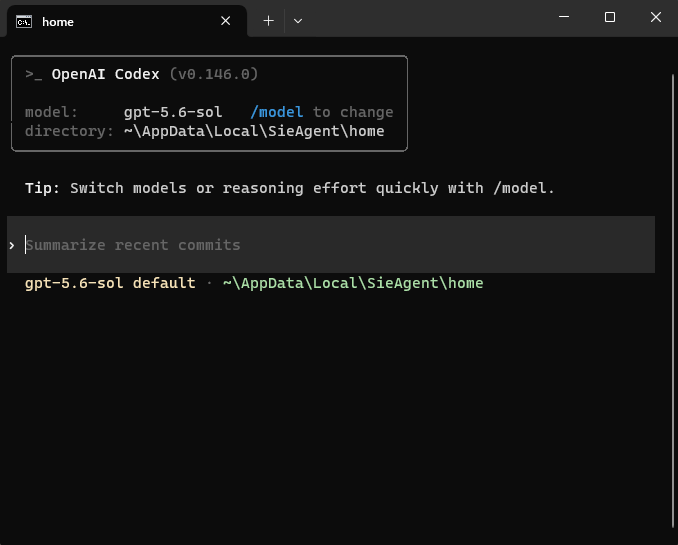
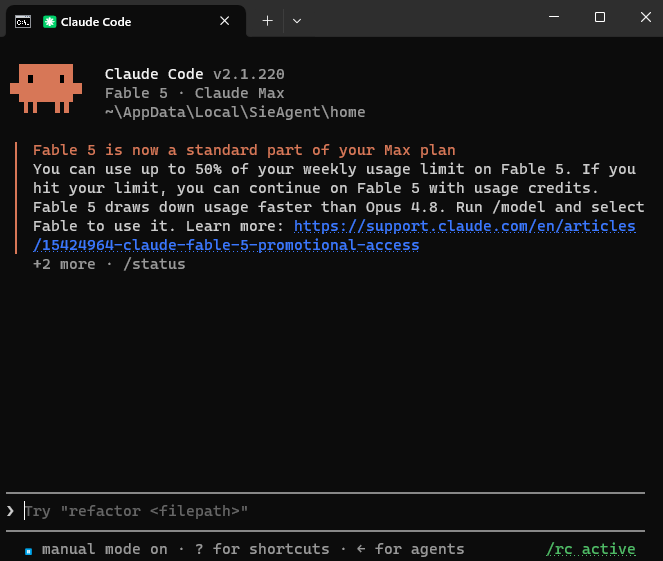
The following screenshots show examples of ready-to-use terminals.